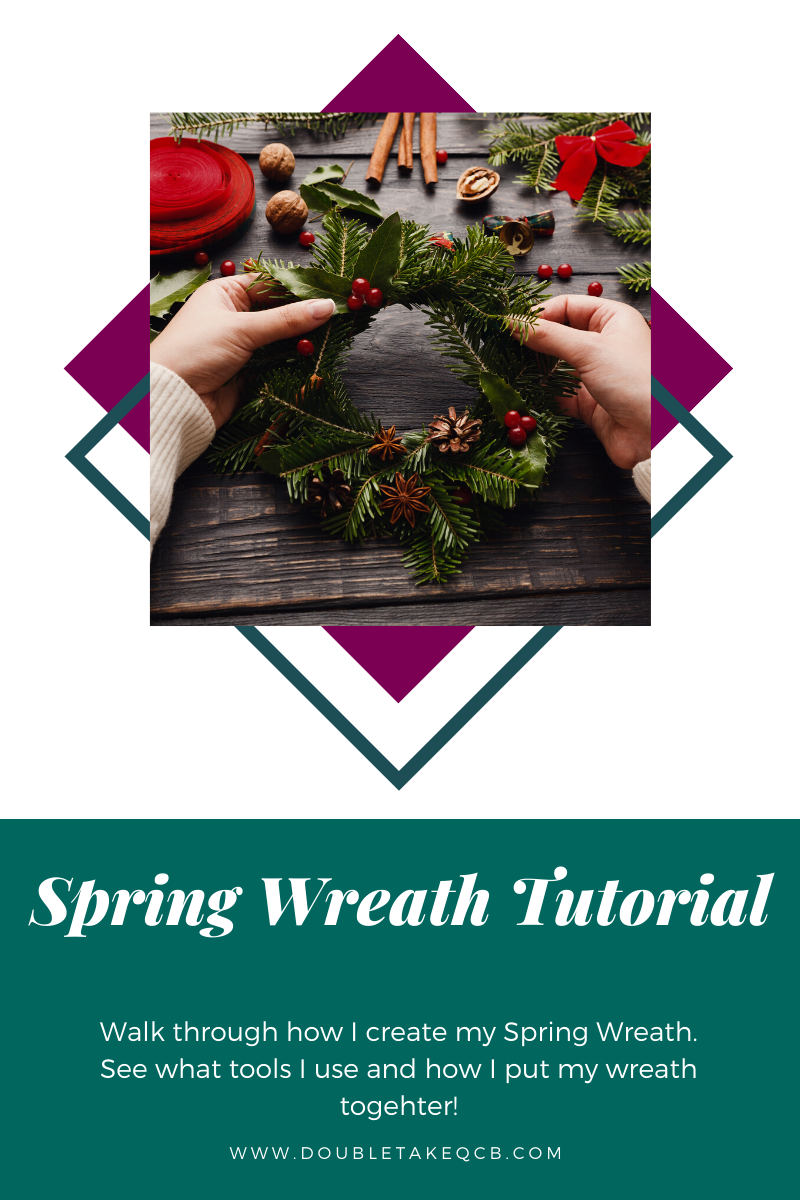
Spring Wreath Tutorial
Today I’m going to walk you through my simple Spring Wreath Tutorial. What materials you can use, and how to put it together. For me Spring is new beginnings and bright colors. Let jump right in!
Materials

Please excuse my horrible horrible table. It’s extremely old a worn, but is still good for doing crafts.
The materials you will need are up to use, but the basic materials are as follows:
- Wreath frame, either woodsy, metal or foam.
- Small zip ties or Chenille Stems work well
- A Glue Gun and glue sticks
- Wire cutters, if you are cutting flowers
- Scissors
Other materials you can use:
- Flowers
- Ribbon
- Plaques
- Signs
- Ornaments
- Mesh
Basically it’s a clean canvas, use your imagination and craft something amazing!
The items I used for my wreath were flowers, a wooden sign I painted myself because I couldn’t find anything that had to do with Spring at all, but I got creative with what I had. I used a little wooden butterfly and lady bug that I also painted myself using my daughter’s acrylic paint. My daughter loves the googly eyes I put on them.

Using chenille stems on this one was a little difficult so I used a hot glue gun and zip ties to secure everything to the wreath itself.
Placement
Figuring out where to place everything is probably the hardest part for me. I’m always afraid that I put to much of one color next to each other or I make it too cluttered. I just have to relax and let the inspiration hit me, so I can create something I’ll love, kind of like I do in my bullet journals each month. You journal is a great place for planning our your design. If you do that ahead of time. I just kind of went with the flow on this one. It’s also a great self care project!
As I started this wreath, I placed the wooden “Welcome Spring” sign on the wreath where I thought I would want it, I didn’t attach it yet, I just wanted to figure out where that would go before I continued on with the other items.

I started just clipping the individual flowers off at the bottom of the stem with the clippers and inserting them through the wooden sticks where I thought they would look good. The arrangement is all up to you and your preference on color and design.
Some people like to have ribbon on their wreaths. I didn’t think this one needed it so I left it off. I like how the finished product turned out. I glued the wooden plaque down, along with the lady bug and butterfly and zip-tied the stems to the branches of the wreath in the back so they weren’t sticking out all over the place.

I had a lot of fun creating this wreath, although it is very simple. I’m hoping to expand my creativity and create something a little more difficult. I hope you enjoyed tagging along with me on this project.